
Choosing a Cable Swaging Tool is less about buying the biggest press and more about matching the tool to the cable, fittings, and workload. A Cable Swaging Tool must form a secure, consistent connection without crushing the wire or leaving a loose sleeve. The right choice depends on cable diameter, fitting material, die compatibility, and how often you will use it. Small details matter. A comfortable handle, clear size markings, and easy-to-change dies can save time at the workbench.
This guide compares practical options for buyers in 2026, from compact hand tools for occasional repairs to heavier models suited to repeated work. We look at usable cable ranges, included dies, construction, adjustment features, and the clarity of manufacturer specifications. Not every tool fits every project. A low-cost kit may work well for light-duty tasks, while frequent use can make better leverage and replaceable parts more valuable. That trade-off is easy to overlook.
Before choosing, check the tool’s published cable and fitting specifications, and confirm that the dies match the sleeves you plan to use. Follow the manufacturer’s instructions and inspect each finished crimp for visible gaps, distortion, or movement. A neat-looking connection is not proof of strength. When a project carries meaningful loads, consult a qualified professional and use verified guidance for the complete assembly. Even a careful comparison has limits: product listings can omit useful details, and hand pressure varies between users. Treat this shortlist as a starting point, not a substitute for a test fit or sound judgment.
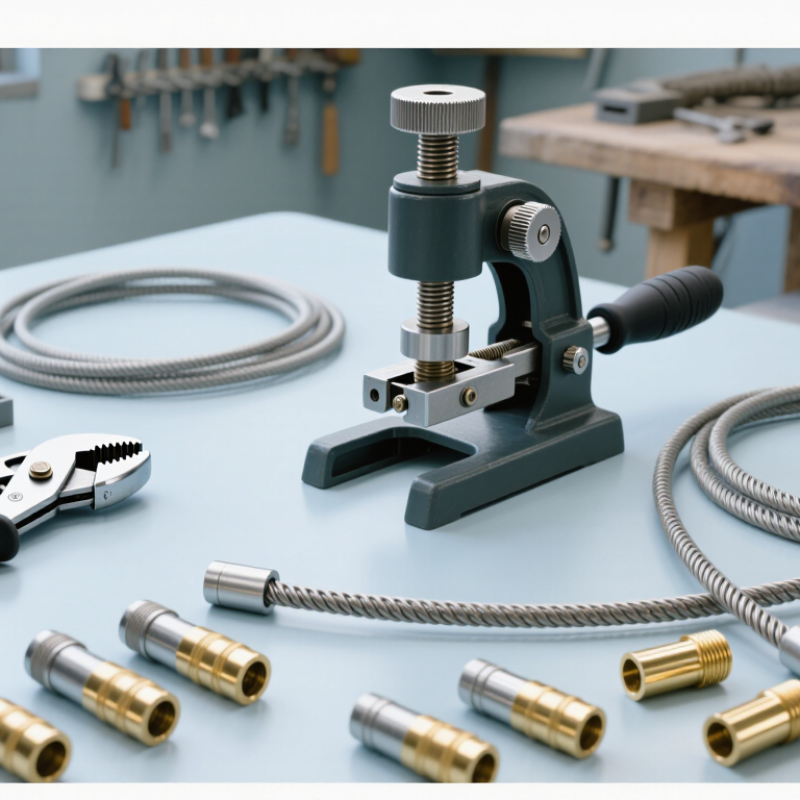
Cable swaging is a cold-forming process that secures a metal sleeve around wire rope. A swaging tool applies force through shaped dies, compressing the sleeve against the cable strands. The result is a fixed termination, not an adjustable clamp. The fit matters. A sleeve that is too loose may slip, while an unsuitable die can deform it unevenly.
Hand-operated tools suit smaller jobs and occasional repairs, but require steady, properly aligned pressure. Hydraulic models provide greater force for larger sleeves or repeated work. In either case, match the tool and die to the sleeve material, cable diameter, and termination instructions. Don’t assume sleeves that look alike need the same die. Their dimensions can differ.
Before crimping, check that the cable is seated to the required depth and that the sleeve is undamaged. Afterward, look for uniform compression, sharp edges, cracks, or visible gaps. Follow the specified inspection method; appearance alone cannot prove a termination’s strength. In practical use, keeping the cable straight while closing the dies can be awkward, especially in tight spaces. I’d plan for that before choosing a tool, rather than judging it by force or price alone.
In 2026, cable swaging tools generally fall into four groups: hand-operated, ratcheting, hydraulic, and bench-mounted systems. Each compresses a sleeve around a cable, but the force, consistency, and worksite fit differ. Hand tools are compact and useful for small cables or occasional repairs. Ratcheting models help apply a more repeatable compression, while hydraulic tools reduce hand effort on larger fittings. Bench-mounted systems offer stability for frequent, controlled production work.
The right type depends on cable diameter, sleeve material, fitting design, and how often you make connections. Check that the tool’s dies match the sleeve and cable specifications; a sleeve that looks properly compressed is not proof of a reliable connection. That matters. A cheap hand tool may feel comfortable for one crimp, then become tiring during a long repair session. Hydraulic models can save effort, but they need room to operate and regular inspection.
For field jobs, portability may outweigh speed. In a workshop, a fixed tool can make repeated crimps easier to align. There is no perfect choice. Before use, inspect the cable for fraying, seat it fully in the fitting, and follow the tool and fitting instructions. Where the application requires it, use the specified inspection or load-testing procedure rather than relying on appearance alone.
Common tool types classified by how they generate swaging force
Each bar represents one tool type, not market share or a performance rating. Hand-operated hydraulic tools use a manual pump; powered hydraulic, electric, and pneumatic tools rely on an external power source. Actual capabilities vary by model and die.
When comparing cable swaging tools in 2026, match the tool to cable diameter, fitting type, and expected workload. A tool rated for a broad range may not compress every fitting evenly. Check die markings, adjustment methods, and whether replacement dies are available. Small details matter. A clear size chart is more useful than a vague claim of “heavy-duty” performance.
For hand tools, consider handle reach, grip comfort, and how securely the tool closes. Longer handles can reduce effort, but may be awkward in a cramped work area. Hydraulic models can suit repeated work, though their weight and maintenance needs deserve attention. Not always an upgrade. Ask how the tool is calibrated and how often that calibration should be checked.
Build quality is worth inspecting closely. Look for aligned dies, smooth movement, and no obvious play at the pivot or jaws. Confirm that the tool’s instructions explain fitting placement and the correct crimp sequence. If possible, test it on a sample cable and inspect the finished swage for uniform compression. I would not choose on price alone; that is easy to get wrong. Balance purchase cost against expected use, available parts, and the time needed to produce consistent results.
Best cable swaging tools in 2026 depend on the job, not simply the largest rated capacity. For occasional railing or fence repairs, a compact hand swager is easier to carry and store. It suits low-volume work only when its rated range matches the cable and terminal. For repeated shop jobs, a bench-mounted or hydraulic tool can reduce effort and improve consistency. Check die availability before purchase. A powerful tool with the wrong die is still the wrong tool.
For field work, prioritize stable setup, clear hand space, and repeatable pressure. Before each crimp, confirm cable construction, diameter, terminal material, die profile, and the required finished dimensions. A sleeve may look neat and still be under-swaged. That detail is easy to miss. The U.S. Bureau of Labor Statistics recorded 5,283 fatal work injuries across U.S. workplaces in 2023; this is not cable-specific data, but it underscores why safe handling deserves attention. For load-bearing assemblies, follow the application’s documented inspection and proof-test procedure. A common buying mistake is paying for extra capacity before checking whether the tool supports the terminals used most often.
Before each swage, inspect the frame, pins, dies, and handles for cracks, looseness, or metal deformation. Worn dies can produce a sleeve that looks secure but fails inspection. Check that the die size matches the cable and fitting specifications. Keep fingers clear of the closing jaws, and complete each press through its full stroke. OSHA’s 29 CFR 1910.242(a) requires tools to be maintained in safe condition. The U.S. Bureau of Labor Statistics reported 2.6 million nonfatal workplace injury and illness cases in private industry in 2023. That figure is not specific to swaging, but it underlines why routine checks matter.
After use, brush metal fragments from the dies and wipe away oil or moisture. Inspect hydraulic hoses and connections for leaks before storing powered equipment; release pressure before servicing it. Keep dies dry, labeled, and stored where their faces cannot knock against other tools. Use a swage gauge to check finished fittings against the cable or fitting maker’s specifications. Record defects and maintenance dates, even when the tool seems fine. A checklist can feel tedious. Skipping it is the easier mistake.
| Tool Type | Best Suited For | What to Check Before Buying | Safe Operation | Maintenance and Tool Care |
|---|---|---|---|---|
| Hand-operated swaging tool | Light-duty or occasional terminations on compatible wire rope and sleeves; useful where portability and simple setup matter. | Confirm the tool’s stated cable and sleeve compatibility, approved die sizes, handle leverage, and whether replacement dies are available. Do not assume one tool fits every sleeve material or cable construction. | Use the specified die and follow the swage sequence in the tool instructions. Keep fingers clear of the dies and handles, and wear safety glasses while working with wire rope. | Wipe the tool clean after use, inspect pivot points and dies for wear or damage, and lubricate only as directed by the manufacturer. Store dry to limit corrosion. |
| Hydraulic swaging tool | Repeated or higher-force swaging jobs where the tool is rated for the required cable and sleeve range. | Check the tool’s rated capacity, compatible dies, service requirements, and availability of seals or other service parts. Verify that the rating covers the exact fitting and material combination. | Inspect the frame, hose, couplings, and ram before use. Keep hands away from the closing dies, operate on a stable surface, and release hydraulic pressure before adjustments or servicing. | Clean the dies and frame, check for leaks or damaged hoses, and follow the specified hydraulic-fluid and inspection schedule. Do not use a leaking or damaged tool. |
| Bench-mounted swaging tool | Workshop use and repetitive work where a fixed, stable setup helps with positioning and consistent operation. | Check the mounting requirements, die compatibility, working range, and availability of instructions for the intended cable and sleeve system. Ensure the bench can safely support the tool and workpiece. | Secure the tool to a stable workbench as instructed. Keep the work area clear, position the fitting correctly, and keep hands away from the swaging point during each stroke. | Check mounting bolts and moving parts periodically. Remove metal debris, inspect dies for deformation or cracks, and protect bare surfaces from moisture during storage. |
| Battery-powered hydraulic swaging tool | Field work or jobs that benefit from powered operation without a fixed hydraulic pump or bench setup. | Verify the tool’s rated range, approved dies, battery and charger availability, service support, and any operating limits stated in its manual. | Inspect the tool and battery before use. Keep the swaging area clear, use the correct die, and remove or isolate the battery before cleaning, changing dies, or carrying out maintenance as directed. | Keep the tool and battery dry and clean. Follow the battery maker’s charging and storage instructions, and arrange inspection or service if the tool behaves unusually or shows damage. |
| Tooling for a matched swage system | Installations where the cable, sleeve, and swaging method are specified as a compatible system, such as certain rigging or architectural cable applications. | Confirm the required cable construction, sleeve material and size, die profile, number and placement of swages, and inspection criteria from the system documentation. | Do not substitute sleeves, dies, or cable types unless the system instructions allow it. Inspect the completed termination using the specified acceptance criteria before putting it into service. | Keep system instructions with the tooling. Track die condition and service history, and replace worn or damaged components only with compatible parts. |
Buyer and safety note: Tool capacity and compatibility vary by design. Always follow the tool and cable-system instructions, use the specified cable, sleeve, and dies together, and have load-bearing terminations inspected according to the applicable project requirements.